


Traveling around the world is fun — new places, new people, new adventures! But one thing every traveler needs is a strong internet connection. That’s where an international eSIM card comes to the rescue.

If you use both a travel eSIM and a global eSIM, you might wonder how to switch between them while you travel. Don’t worry! It’s actually very simple. Let’s explore how to switch between travel eSIM and global eSIM on an international eSIM card in easy steps anyone can follow.
🌍 What Is an eSIM?
An eSIM is like a tiny SIM card that lives inside your phone. You don’t have to insert or remove anything. It’s built-in and can be used by scanning a QR code.
You can store more than one eSIM on your phone — for example, a travel eSIM for one country and a global eSIM for all others. It’s a smart way to stay connected while exploring the world.
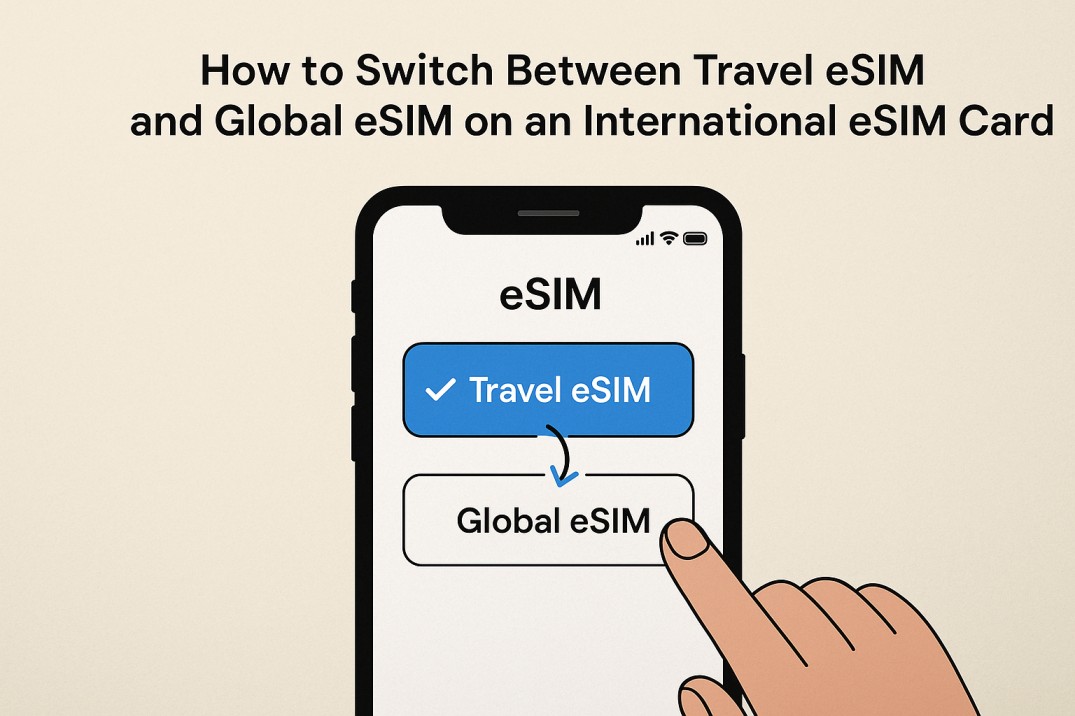
📱 Travel eSIM vs Global eSIM – What’s the Difference?
Before we learn how to switch between travel eSIM and global eSIM on an international eSIM card, let’s quickly understand what each one does:
- Travel eSIM: Works in one region or a few countries. Example: “Asia eSIM” or “Europe eSIM.”
- Global eSIM: Works in many countries worldwide. Great for long trips or when visiting multiple continents.
Think of it like this — a travel eSIM is your local ticket, and a global eSIM is your all-access pass!
✈️ Why Switch Between eSIMs?
You may need to switch eSIMs for a few reasons:
- Different Country: Your travel eSIM may only work in certain regions.
- Better Internet: Sometimes, one eSIM gives faster or stronger signal.
- Save Money: Switching lets you use cheaper plans in each country.
- Backup Plan: If one stops working, you can quickly switch to the other.
Switching helps you stay online wherever you are — from airports to beaches!
⚙️ Step-by-Step: How to Switch Between Travel eSIM and Global eSIM on an International eSIM Card
Follow these easy steps to switch smoothly:
Step 1: Open Your Phone Settings
Go to your phone’s Settings.
Find Network, Mobile Data, or SIM Manager (the name may differ on iPhones or Androids).
Step 2: Find Your eSIM Profiles
You’ll see your active and saved eSIMs. There will be one for your travel eSIM and one for your global eSIM.
Step 3: Choose Which eSIM to Use
Tap on the eSIM you want to use.
Turn ON your chosen eSIM and turn OFF the one you don’t need right now.
Step 4: Select for Mobile Data
In the same settings, choose which eSIM should be used for mobile data.
If you just turned on your global eSIM, select it for data.
Step 5: Wait a Few Seconds
Your phone will connect to a local network automatically. You’ll see signal bars appear. Now you’re online again!
That’s it — you’ve just learned how to switch between travel eSIM and global eSIM on an international eSIM card in under two minutes.
🧠 Smart Tips for Easy Switching
Here are a few smart travel tips to make things even simpler:
- Label Your eSIMs – Rename them as “Asia Trip” or “Global Plan” so you know which is which.
- Keep QR Codes Saved – Store them safely in your email or notes app.
- Turn Off Unused eSIMs – It saves battery and avoids confusion.
- Check Network Settings – Some phones need you to pick the right network manually.
- Use Wi-Fi for Setup – Always activate eSIMs when you have Wi-Fi, if possible.
- Restart if Needed – If your phone doesn’t connect, restart once.
🌐Benefits of Using Both eSIMs
Using both a travel and global eSIM gives you more control and freedom. Here’s why it’s awesome:
- Always Online: You’ll never lose connection when traveling.
- No Roaming Hassles: Use local or regional networks easily.
- Better Value: Choose cheaper plans where possible.
- Eco-Friendly: No plastic SIM cards, no waste.
- Quick Setup: Just scan and activate — no stores, no lines!
Knowing how to switch between travel eSIM and global eSIM on an international eSIM card makes your travel stress-free and smooth.
🧳Real-Life Example
Imagine this:
You start your journey in Thailand using a travel eSIM for Asia. Then you fly to France. Instead of hunting for a new SIM card, you simply switch to your global eSIM in your phone settings.
In seconds, your internet is working again! You can check maps, upload photos, and chat with friends — all without missing a beat.
🧩Troubleshooting Common Problems
Even the best travelers face small tech issues. Here’s how to fix them:
- No Internet? Turn airplane mode on and off.
- Still Not Working? Re-scan your QR code or re-activate the plan.
- Slow Data? Manually choose a faster local network.
- Forgot QR Code? Log in to your eSIM provider’s account to get it again.
✅ Checklist Before You Travel
Make sure you’re ready before your trip:
- Check your phone supports eSIM.
- Buy your travel and global eSIMs early.
- Save all QR codes and passwords.
- Test both eSIMs before your flight.
- Learn how to switch between them — now you already know!
🏁Conclusion
Traveling with an international eSIM card makes life easier and more fun. You can connect anywhere — no matter where your journey takes you.
By knowing how to switch between travel eSIM and global eSIM on an international eSIM card, you can move between countries with just a few taps. It’s quick, safe, and smart.
No more roaming worries, no SIM card swapping — just pure adventure with reliable internet everywhere you go. ??
So next time you travel, let your eSIM be your best travel buddy. Stay online, stay smart, and enjoy every moment!
Get 10% OFF — Download Our App Now!
Enjoy instant savings when you buy eSIMs through our app.

